I use a Creative Memories Layout box, but you can use any type of 12x12 (or your album size) box that you have. You can see the box and the layout page next to it and some of my idea books behind it.
 Next, I lay down the layout page, mine are white and the size of a 12x12 page, they come with the box. Once again, you can use whatever you have that is the correct size. I used to use actual pages; if you do that, please remember that the right side of your page will be the left side on the next 2 pages. I pull out my pictures, then find the paper that I want to use with them. I then write myself a note about the page.
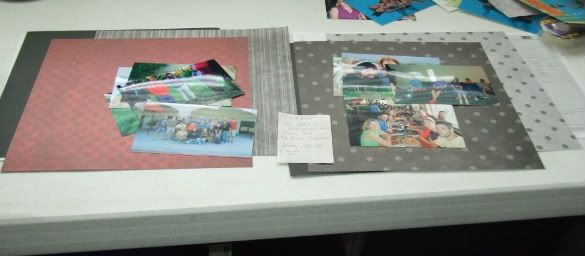 I make notes about the page. On the note in the picture, I put what the title would be, what cartridge to cut it from and I want to use a page in one of my CTMH idea books to cut the paper by.
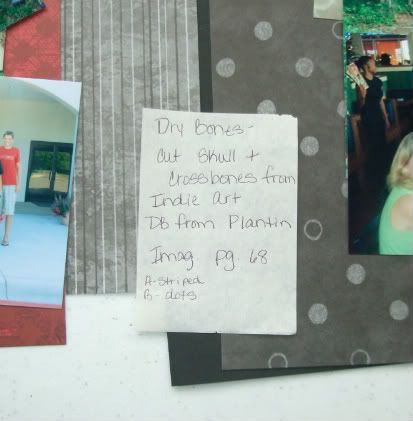 Once I am done, I fold the two pages in on top of each other. That way everything I need is all together.
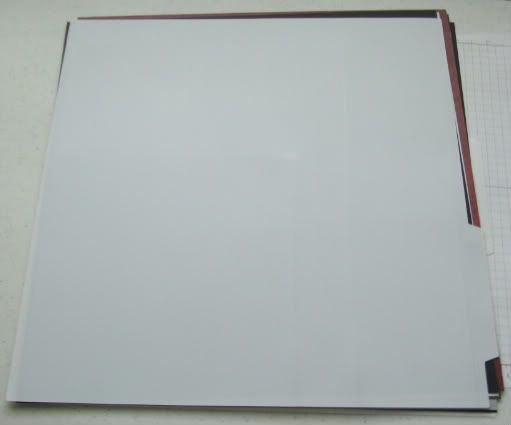 This next page was just a one page layout. I do the same, except it will have a top and bottom layout page . On this page I want to use a sticker as my title, so I wrote that on my note and put the sticker sheet in with the paper and pictures.
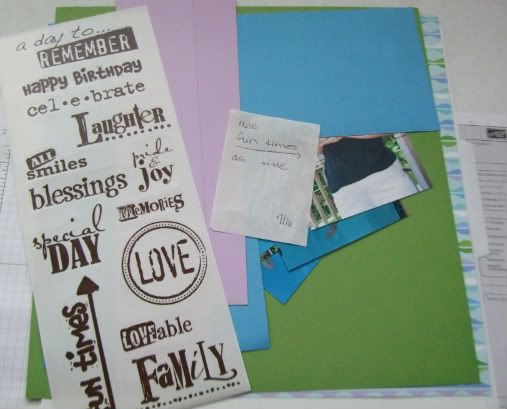 I laid out 6 pages today, here is what my stack looked like . You put the pages in order from top to bottom.
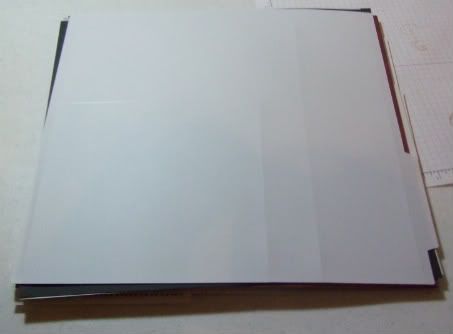 Here is a picture of the box with the pages in it. I have enough layout pages to layout 30 pages at a time. That is about max capacity of this box. The only time I lay out that many pages, is when I am going on a retreat!
 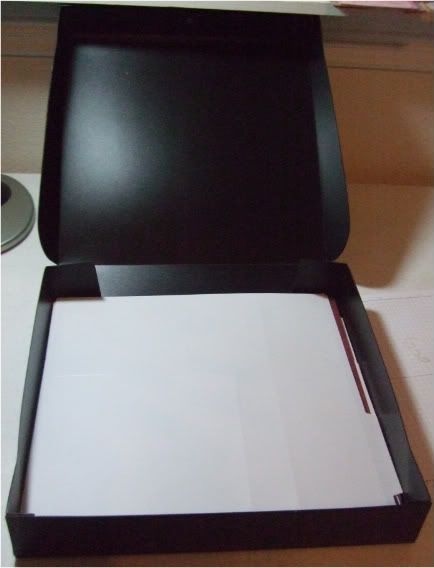 How you lay out your pages is up to you. I know people who do everything except the adhesive and journaling. I sometimes cut my title or image out, but now that I have the Gypsy, I am much more likely to put the image into my Gypsy so that all I need to do is cut the image once I am there. I also decide about the journaling box after I have cut the paper and cropped the pictures. I use the backside of the note paper to write out what I want to say in the journaling box and then transfer that onto the jb. There is no right and wrong way to do it. Whatever works best for you, is the right way! Hope this helps you!
.JPG)


WOW.. SOOO Organized!!! See, I have a hard time just coming up with which cart I want.. and what embellies I want.. I totally wanna try this. Thanks Rhonda :)
ReplyDeletewhat a super idea hun, now i just need to get to doing some scrapbooking!!!
ReplyDeleteTheres a little bit of sunshine for you over on my blog hun xx
Rhonda
ReplyDeleteGreat organizational tips! Thanks for sharing that. I think journaling is the hardest part for me.
Marilyn C.