Showing posts with label Layouts. Show all posts

Monday, February 7, 2011

Raceway Layout

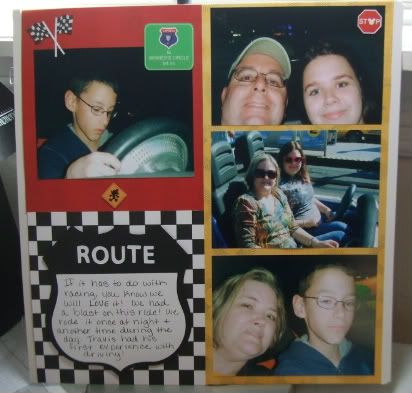
Knowing that we are BIG race fans, it shouldn't surprise you that one of our most favorite rides at Disney was the Tomorrowland Speedway!  We rode it once at night and then again on our last day.  The red print paper is CM and the gold is SandyLion.  I used Cars to cut the journaling box and Jolee's dimensionals to embellish the page.  I used a picture of the Speedway sign as the title.


Wednesday, February 2, 2011

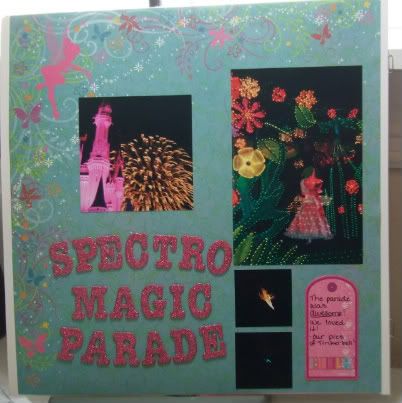
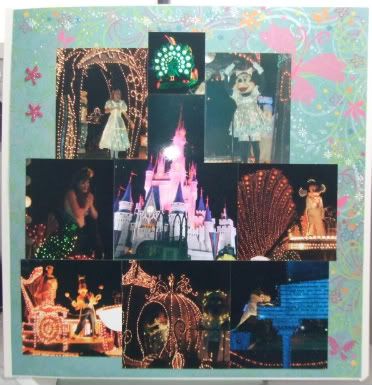
Tinkerbell page

Have you ever had a page that you could not find a color that the pictures looked good on?  This was one of those layouts.  The pictures were dark, but the colors were bright.  After looking for 2 days for paper at home, I finally gave up and went to JoAnn's and bought some more paper!  Turns out, this paper matched beautifully!  It's from Hot Off the Press and is called Finished in a Flash.  Once I got this paper, I was finished in a flash!  The letters are Thickers.


Friday, January 28, 2011

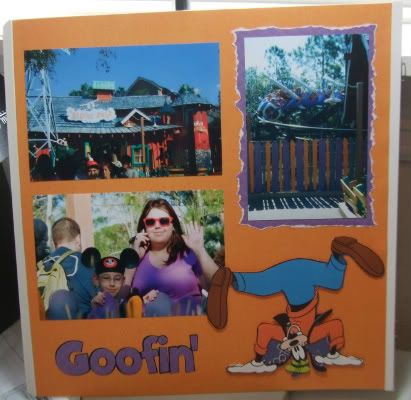
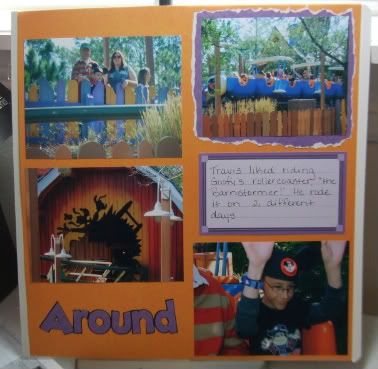
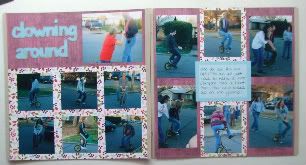
Goofin' Around!

I have another simple layout for you today.  I just love these pages, the colors turned out so well!  The paper is all CM.  I used Mickey Font and welded the shadow, but cut the letters individually.  The Goofy is from a really old piece of paper I had!  I cut him out and pop dotted him up!


Monday, January 24, 2011

Disney Layout

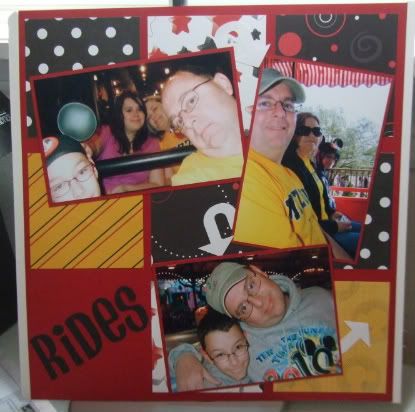
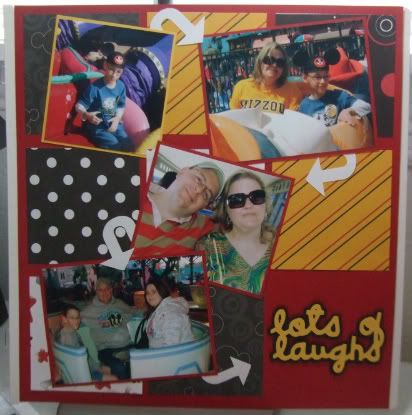
I thought I'd give y'all a break on the Valentine Cards!  This layout was done using scraps from the other pages.  I used Don Juan and Paisley for the words.  The arrows were cut from Accent Essentials.  This has turned out to be my most favorite layout so far.  I still have MANY more pages to go! 


Thursday, January 13, 2011

Simple Layout

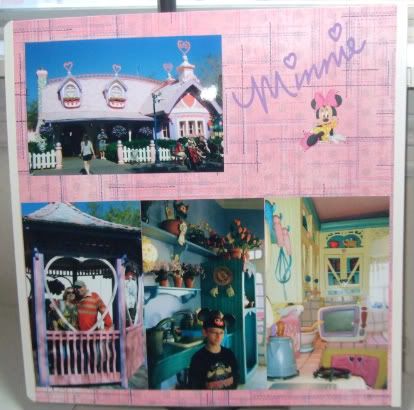
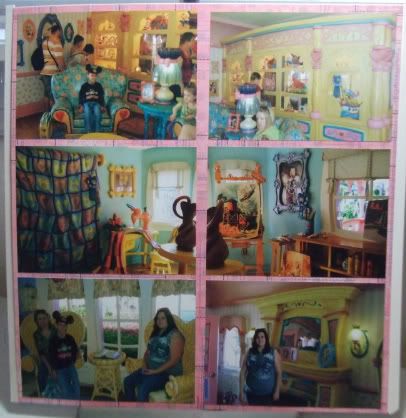
I consider myself to have a very simple scrapbooking style.  Sometimes that style becomes even simpler when the pcitures do all the talking!  This is my 2 page layout of Minnie Mouse's house.  I had a really good picture of the front of her house, so I didn't really see the need in piecing together all the layers of her house.  I did cut "Minnie" from Mickey and Friends and I had a Minnie sticker from CM that was the perfect size!  The paper is from AdornIt.


Wednesday, January 12, 2011

Disney Layout

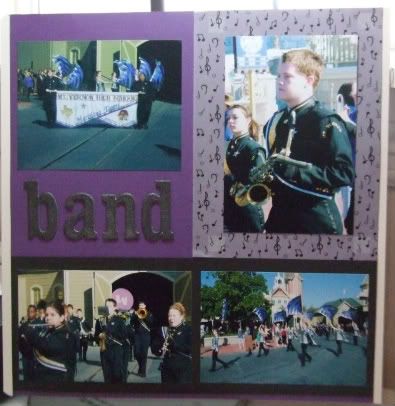
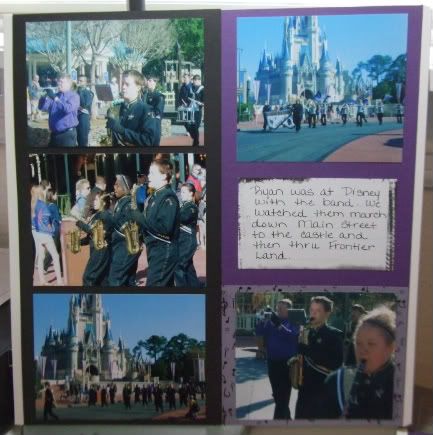
While we were at Disney World, my nephew was also there with his high school's band.  We got to watch the band march down Main Street past the Castle and thru Frontier Land.  It was awesome!  How many kids actually get to do that?  We ran behind them and beside them trying to get pictures!  The title is SU chipboard letters that I colored using SU black craft ink then I sprayed them with my homemade glimmer mist!  (SU glimmer paint and alcohol) The vellum paper is from Joann's and the journaling box is CM.


Tuesday, January 11, 2011

Disney Layout

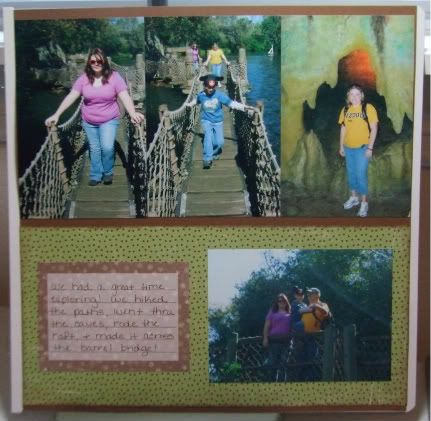
I am back after taking a few days break.  I did go to a crop on Saturday, so I have several layouts to share.  I have noticed that I don't really get comments on my layouts.  Y'all either don't like layouts or you don't like mine, but I'm sharing anyway!  This is my layout of Tom Sawyer Island.  I used Old West's board font to cut the title and then I took a sliver pen and put dots where the nails should be.  I also used Very Merry Tags to cut the tag, then I inked it with Colorbox ink and hand wrote "Explore" on it.  I tied it to the picture with Paper Trey Inc. rustic twine.  The green pattern is from CTMH and I also inked it.  The journaling box is CM.


Friday, January 7, 2011

Disney Layouts

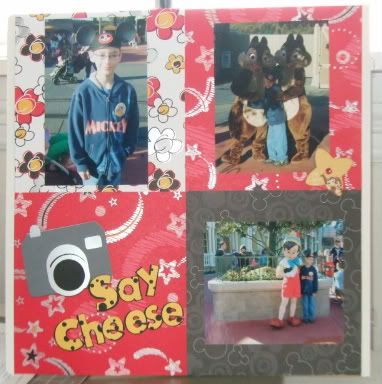
I promised to post some of the pages I did.  Here are two of them. The red pattern and white pattern papers are from Creative Imaginations, the black is Sandy Lion.  The chipboard embellishments are from Disney.  I tried something new and put embossing powder on a Zot and heat embossed it, let is dry, and then used it for the centers of the chipboard.  It worked really well, but it would have looked better if I would have used the new Zots that are thicker.  The camera was cut from Create A Critter and the letters are Mickey Font.  I used my CM bubble maker to make the holes.


Monday, November 22, 2010

Toy Story Layout

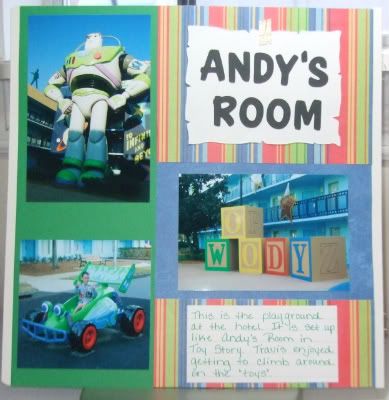
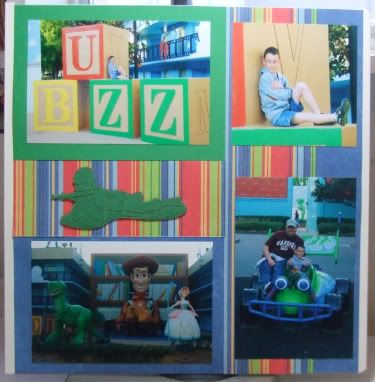
This the playground at the hotel that we stayed in.  It was set up like Andy's room.  I tried really hard to make the title look like a piece of paper that a kid would write on and tape to their door.  I used Old West to cut the paper and Pooh Font for the title.  I distressed the edges of the paper.  I used Toy Story for the green army man.  The paper is from Hobby Lobby.


Friday, November 19, 2010

Hollywood Studios Layout

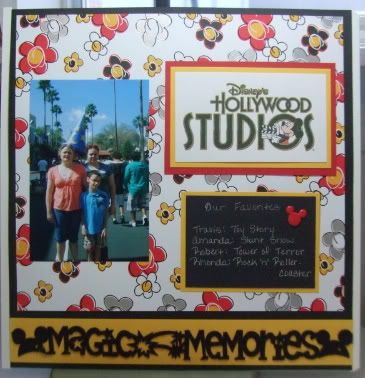
I thought I'd share a one page layout today.  This is the "title" page to all my Hollywood Studios pages.  I used clip art for the title.  The flower paper is from Creative Imaginations.  The Magic Memories is a felt border that I got at convention.  I used the journaling box to tell everyone's favorite ride from that park!  The mouse head brad is from Queen & Co.

Thursday, November 18, 2010

Disney Layout

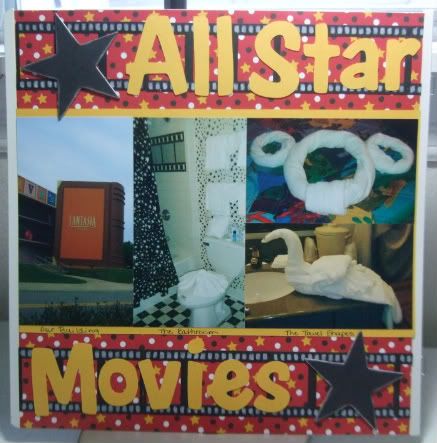
I have been working on my Disney album, very slowly, but working on it.  Today, I took pictures of all the pages that I have done so far and I will post them a few days a week!  Let me start by saying that I use Creative Memories (CM) albums.  I still have the old ones that are not a true 12x12, so I have to trim down all my paper!  These are the pages of the hotel that I did.  I really liked the way they turned out.  The bakground paper is Creative Imaginations.  The cardstock is all CM.  I used a Spellbinders die to cut the film strips.  I cut the strip, embossed it, and then used white chalk ink to stencil with.  This was a very long process; the die only cuts three frames at a time.  The black stars are SU chipboard colored with SU ink.  The title is from Pooh Font.  The photo corners on the journaling box are CTMH.


Saturday, October 9, 2010

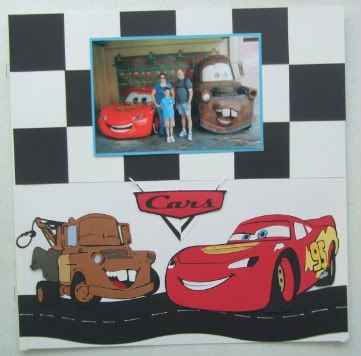
Cars Layout

Let me jsut say that this layout hates me!  I had an awful time trying to get the layers to cut and not tear.  I cut Lightening McQueen about 8-10 times, Mater and the Cars emblem twice.  Then the lighting was not right in my scrap room and it took all day to be able to take the picture and then I could not get the page straight in the picture!  After 12-15 takes, this is as good as it is going to get!  After all the frustration with the cuts, I have no idea what paper I used!  It took 3 sheets of red before I got one to cut and 2 for the brown in Mater.  The black and white are just 2" squares cut with my trimmer and the road was cut using my CM decorative trimmer.  Mater and LM were cut at the same size 3 1/2".

Wednesday, August 11, 2010

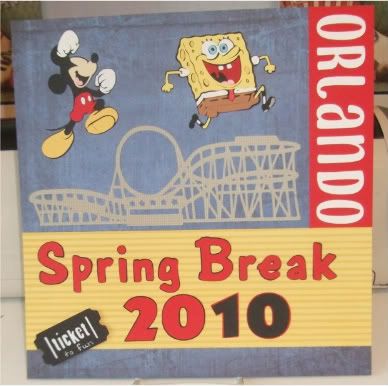
Orlando Layout

I have been putting off starting my Orlando album. I was kind of waiting on the Toy Story cartridge to come out, but I gave up! Here is the front page for that album. We won't even talk about how long I worked on this page! I used 6 different cartridges! The Mickey was cut at 4" and the Sponge Bob at 3". I also used the hide feature on my gypsy to make the ticket.


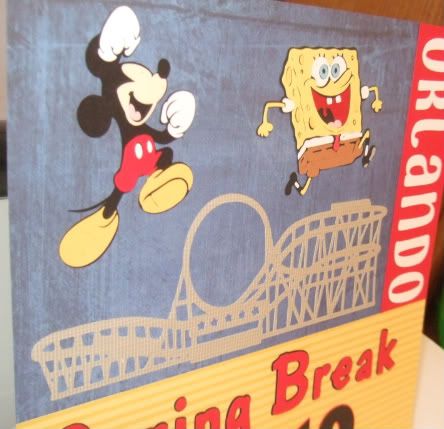
I tried to take a close up picture so that you could see the "texture" of the roller coaster, the paper is from CM and was cut at 9 1/2". Also, so you can see ALL the layers on Sponge Bob! He took the longest to do!
I used all CM printed paper. The red is SU and everything else is from my scraps! The roller coaster and ticket are from Summer Vacation, Mickey is from Mickey & Friends, Sponge Bob from Sponge Bob, Orlando from Don Juan, Spring Break from Pooh Font, and 2010 from Mickey Font.


Friday, June 18, 2010

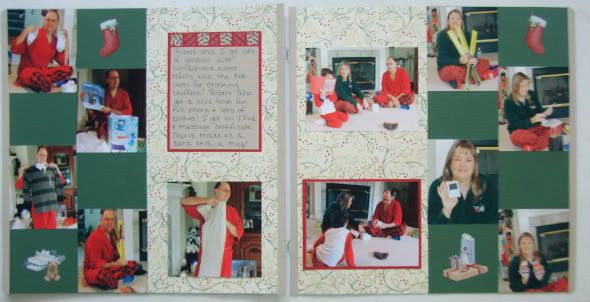
Multiple pictures

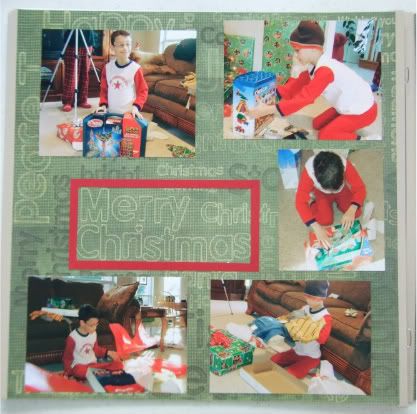
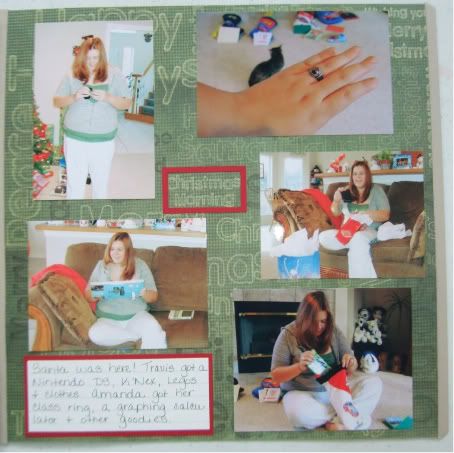
I used 11 pictures on this layout by trimming my pictures down and trying a new arrangement. I've learned to think "outside the box" when it comes to getting all my pictures on the page! This is the next page after the Christmas morning page (in the last post) so I didn't title it. After I took the picture, I decided that it did need a title. I put "Our Turn" in the spaces above and below the top picture on the right hand page. I also used some good old stickers to fill in some of the empty spaces! If you're like me, you have lots of stickers, so use them! The holly paper is DCWV, the red cardstock and lined journaling paper is CM. The stickers are also CM.


Thursday, June 17, 2010

Use the paper to your advantage

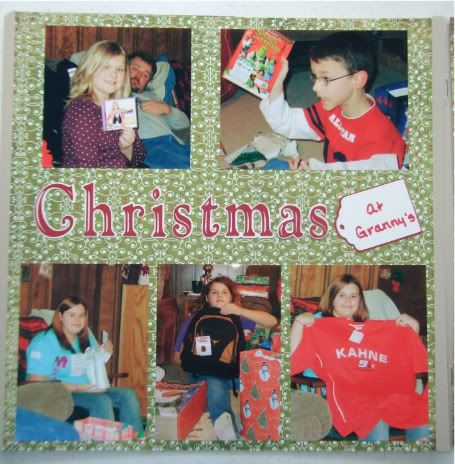
The paper that I used for this layout (sorry, I don't remember who makes it) has words all over it. I used this to my advantage. Instead of cutting a separate title, I made a frame for the phrases that I wanted to emphasize. Then I arranged my pictures around the frames. While this is a very plain page, it allowed me to use all the pictures that I wanted and still have room for a journaling box!


Wednesday, June 16, 2010

Great Font!

Over the last week, I have finished up my 2007 family album! Woo Hoo! Now I can start on our Disney album! In the next few posts I will show several more layouts that have lots of pictures and they will all be Christmas! I know, it's a little early for Christmas, but this is when I got them done! I wanted to share this layout because I just absolutely LOVE this font! It is from my Winter Woodland cartridge. I cut the font and the shadow. I think that this has to be one of the prettiest fonts I've seen! The paper is Basic Grey's Eskimo Kisses. I cut the tag using Very Merry Tags and my Gypsy to size it the way I wanted it.


Sunday, May 23, 2010

Don't forget the family photos

First of all, let me say that I am sorry for not updating for a while, I just have not made anything.

Yesterday, I spent the day with my "Johnson family." Unfortanely, we only see each other maybe every 5 or so years. While we were together, I made sure that we got photos made. Photos of the Johnson kids, grandkids, and great grand kids, and the whole group. Then we did the individual families. It is important to remember to take these types of photos. The last time the Johnson kids had a group picture taken was in the late 80's. My Aunt Clara had an album that had the group pictures of the family through out the years from the 1920's to 2006. It's fun to see how everyone has changed and what the style was back then!

The page that I am positng today has nothing to do with yesterday, but it is some group shots of my husbands family that were taken in 2007. It's another one of the multi-picture layouts!
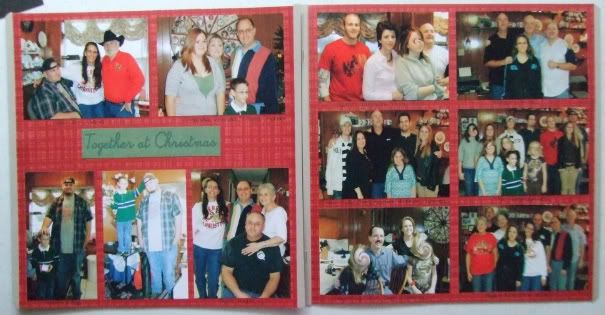
While you're going to all your family reunions this summer, don't forget your camera and don't forget the group shots! Leave me a link, I'd love to see!

Monday, May 10, 2010

Layouts with LOTS of Pictures 7

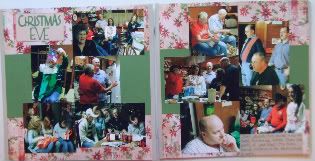
This layout is my "thinking outside the box" layout. I was tired of trying to cut pictures all the same size, blah, blah, blah and I had seen this done in a magazine somewhere. (But, when I went to look for it, I couldn't find it again!) I cut my pictures to a shape that actually fit the picture and then a I pushed them all together in the center of the page. I will admit that the original paper I had picked didn't work, neither did the next paper, but the third time is a charm! The patterned paper is DaisyD's, the cardstock is CM. The Christmas is cut with Beyond Birthdays and the Eve is cut with George.


Sunday, May 9, 2010

Layouts with LOTS of pictures 6

In 2007, the weather on Christmas Eve was really nice! My BIL. Ace got out the unicycle and the majority of us just had to play! How can you NOT scrapbook an event like that? How many times will you have a picture of your MIL being helped up off the street after she fell off a unicycle? LOL! I wanted to get all the pictures on two pages! It was challenging, but I did it! The background paper is from Costco, the pattern paper is Eskimo Kisses, the blue cardstock and journaling box are CM and the title was cut from Pooh Font.


Thursday, May 6, 2010

Layouts with Lots of Pictures 5

The is is of the Ice! display at the Gaylord Texan in Grapevine. I wanted to use as many pictures as possible to show how awesome this was! The background paper is by Fancy Pants, the orange cardstock, vellum, and vellum icicles are all CM. I cut the title using Winter Woodland. I had forgotten there was a font on that cart and it is a really NICE font! If you have that cart, get out and use the font!